
CodeBook Information Sheet #55 (CIS-55) will walk you through the step by step process for installing the software, but there are a few key points worth highlighting that may save you a call to CodeBook support!
1. Before you are ready to install CodeBook, you must first:
a) purchase a license
b) download the installation files
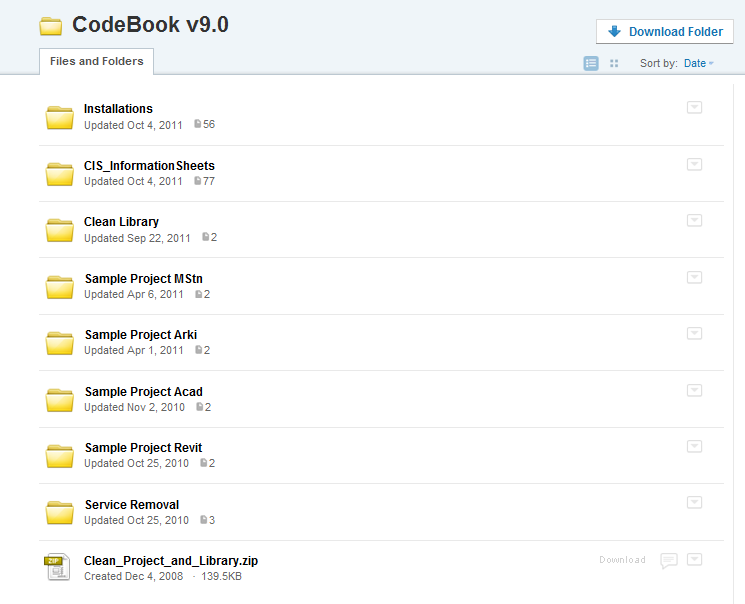
c) download the Sample Project Revit files, ('CdeB_MasterLib_V9_Revit' & 'Sample Project v9 Demo')
d) have administrator rights to the PC you are installing the software onto
...for local resellers, see the links on the right hand navigation...
2. Installation files that need to be run are:
a) CodeBook_v9.msi (installs the software)
b) CodeBook_x64Service.msi (MS Access = 32 bit, Revit = 64 bit so this service enables Access and Revit to communicate)
3. License server, the process to obtain a license is:
a) fire up CodeBook
b) enter your 'company reference' (provided when you purchased the software)
c) register a 'New User'
d) check your email for the confirmation code from Nitromation (Nitromation provide the license manager server)
e) copy and paste your confirmation code into the CodeBook login screen
f) click 'Obtain License'

...keep going, almost there...
4. Start CodeBook v9, assuming you've never used the software before you should:
a) Create a new project
b) When asked to select an existing project to use as a template > path to the location where you saved the Sample Project Revit files
c) You'll be prompted to save your new project, and then
d) Confirm the location of the Equipment and Room Data Libraries > again path to the location where you saved the Sample Project Revit files
...if you have used CodeBook before and want to upgrade from a previous version, see the post Upgrading a v8.2 dataset to v9...
5. Revit to CodeBook command path - final step!
a) Select File > Project Properties...
b) Expand the Administrator > CAD and BIM Settings section and click on Revit
c) In the Codebook to Revit command path check the path and location of the 'CodeBook.Addin' file
For this last part, if you have a standard, out-of-the-box installation of Revit, you may choose to keep the CodeBook default location:
'C:\Users\xxx your username xxx\AppData\Roaming\CodeBook Data'
The chances are you'll have some Revit customisation, so you will need to check that you have the CodeBook.Addin file saved into your Revit Addins folder and that you have entered this location in the 'Codebook to Revit command path'.
For example, we use various Revit Add-ins, such as Worksharing Monitor, Model Review, Bluestreak etc... accessed through the Revit Addins ribbon and these are all saved into:
'C:\ProgramData\Autodesk\REVIT\Addins\2011'
Congratulations - you've now successfully installed and configured CodeBook to work with Revit!
I'll cover Project & Library setup in a subsequent post.
Revit Architecture 2011 or 2012 and the Microsoft Access version of CodeBook will be used by most of the industry, but I'll keep an eye out for requests to explain the install process for other software packages or releases...
No comments:
Post a Comment